Sorry for the resized pictures. You can click on the pictures
so you can see them at normal size!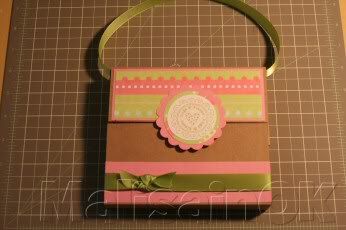
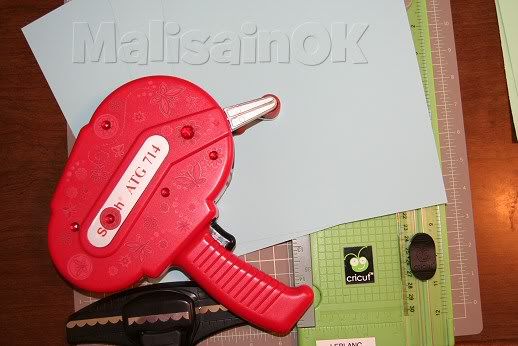
Here are just some of the supplies you're going to need to complete this project.
3 pieces of 8 1/2 x 11 cardstock, adhesive, paper trimmer, scallop punch, crop-o-dile.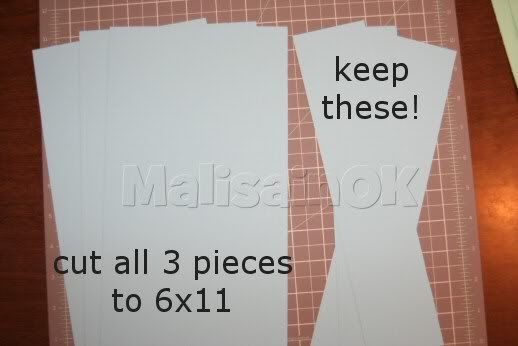
Trim all 3 piece of your card stock to 6 x 11. Keep the strips you cut off.
You'll need these later.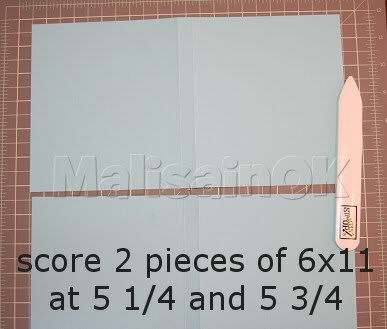
You need to score 2 pieces of your 6 x 11 cardstock at
5 1/4" & 5 3/4".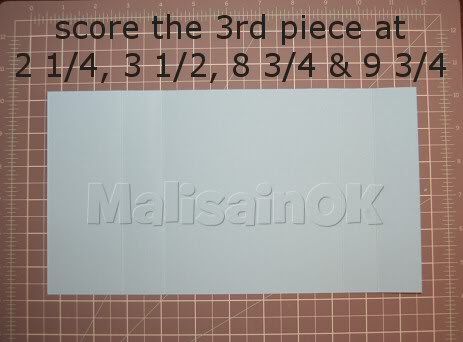
Your last piece of 6 x 11 cardstock you need to score at 2 1/4", 3 1/2",
8 3/4" & 9 3/4"
This is where you need those left over strips. You're going to use 2 of those
are cut them to 2 1/2" x 7". Keep the scraps that you cut off here. You're going
to need those later too! Now back to your 1 1/2" x 7" pieces. You need to
score these on both short ends and one long end, at 1/2" and 1/4".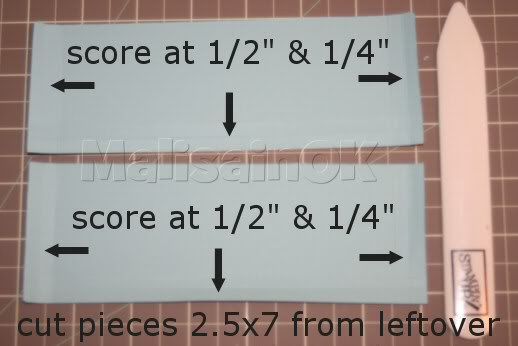
After you have those scored you will notice on the long ends that you have
4 little squares. You're going to cut those out. (see pic below) You can throw
those away. We won't be needing those.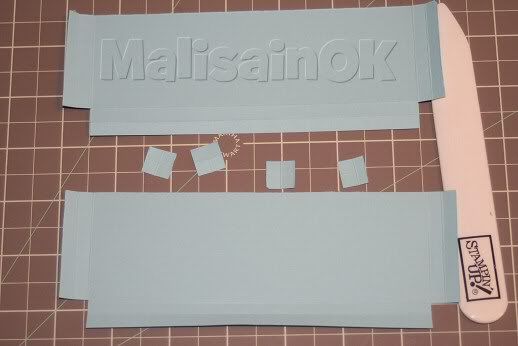
Here is where you need the left over cuts from above.
The 2 pieces you have left from cutting the 2 strips (2 1/2" x 7") down should
measure 2 1/2 x 4.
Now take the other long left over strip (from beginning) and cut it to make
2 pieces of 2 1/2" x 4". The small piece is what you have left over.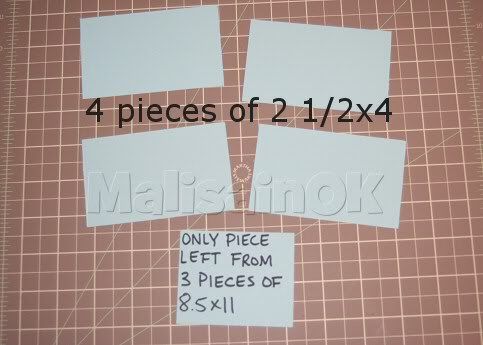
Now using a scallop edge punch you need to punch the edges.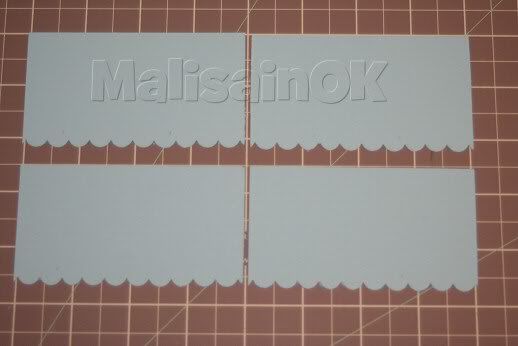
From the flat end you will need to score at 1 1/4" & 1 1/2" (DO NOT FOLLOW
PICTURES SCORE. I MESSED UP!)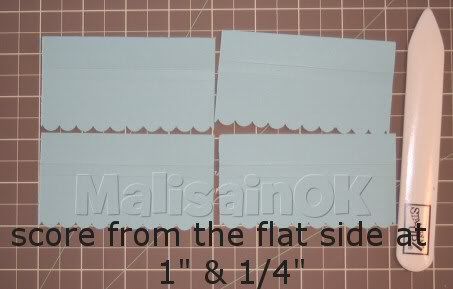
You need to stack all 4 of your scalloped edge pieces and using your
crop-o-dile you need to punch a hole. I found the middle by counting
the scallops then punched just about the middle scallops.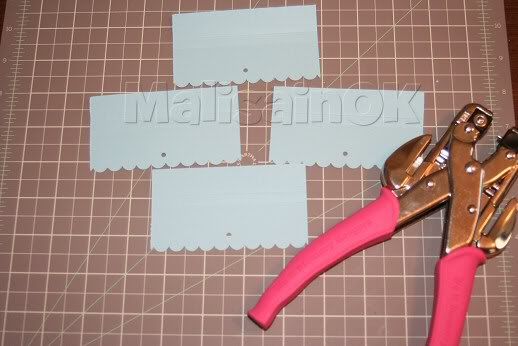
Now you have all your pieces cut and you're ready to assemble them.
You need 1 piece of your 6 x 11 cardstock that you scored twice and the piece
that is scored 4 times. You are going to use your adhesive here to put these
two together.
Slide the 2 scored sheet (right) under the 4 scored sheet (left) up to the score line.
Make sure on the 4 scored sheet (left) that you're using the "short end" score lines.
The large score end is your flap.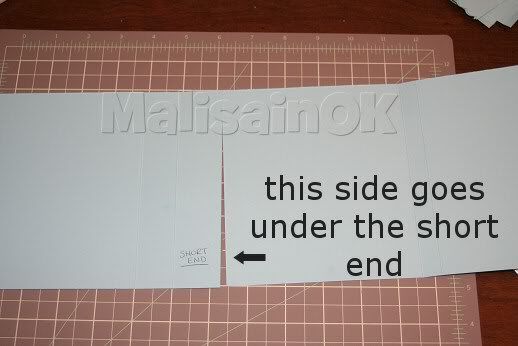
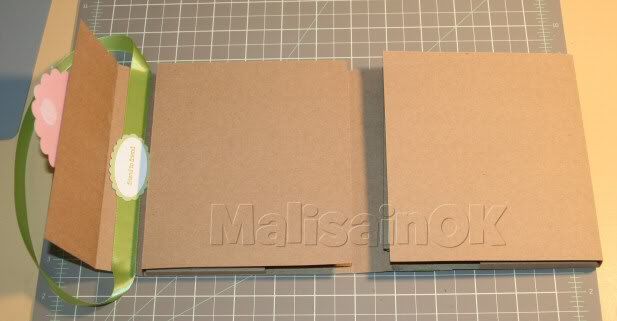
Here you can see how it should look at this point.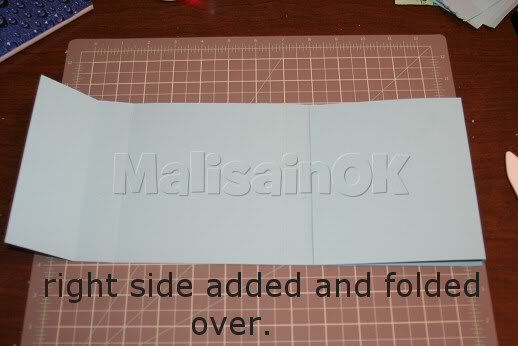
This is how it looks opened all the way.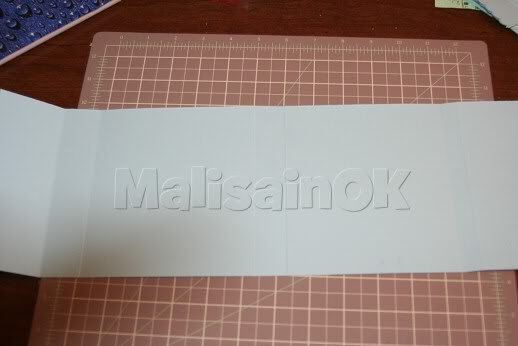
Now you're going to use your last sheet of 6" x 11" cardstock. Add your adhesive
all the way around the area shown. It will be after the second score line on the left
and to the third score line.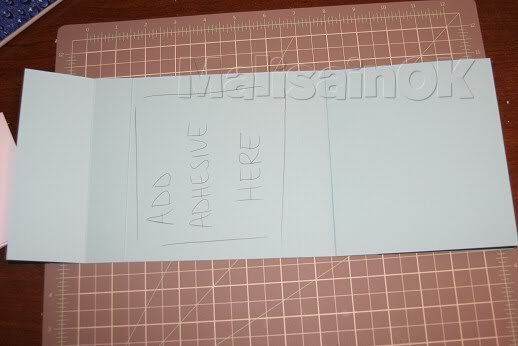
Make sure you add this piece where the fold is facing
in. You want the two flaps to face inward and fold out.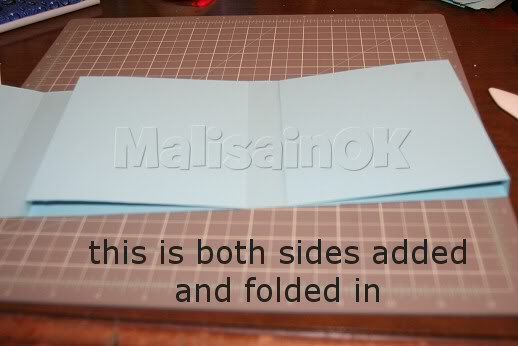
Here you can see how they should fold in.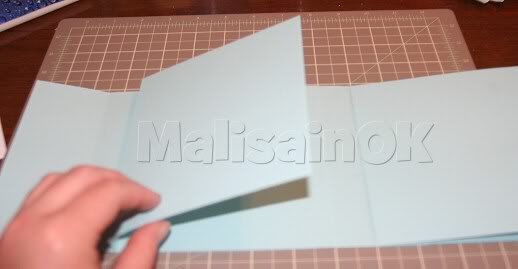
You are going to need your 4 scallop edged pieces. You will need to open your
purse all the way up now. Add the adhesive as shown in the picture below.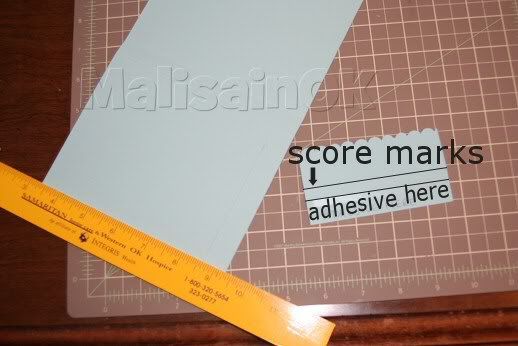
I used my ruler and measured 3/4" from the top and 1/2" on the sides to
position my top scallop piece. Then 3/4" from the bottom and 1/2" on the
side to get the bottom piece.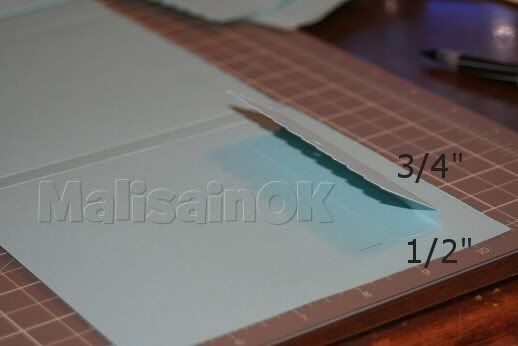
This is how it should look when you get both on. You need to do this on both
sides of your purse. It will be on the pieces that fold out.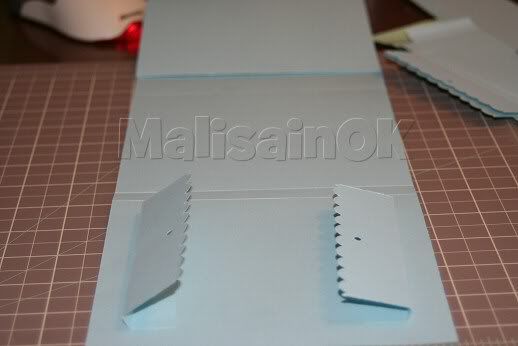
This is a picture of the purse folded backwards on itself so you could see
both sides finished.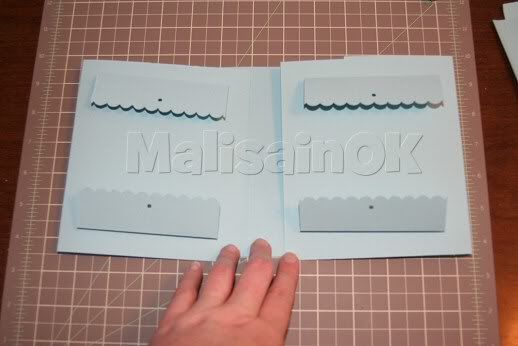
You're looking at the middle of the purse. This is where you're going to attach
your remaining pieces.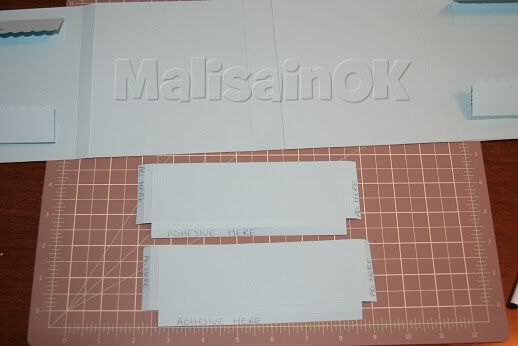
You need to add the adhesive to both small ends and 1 long end that you scored.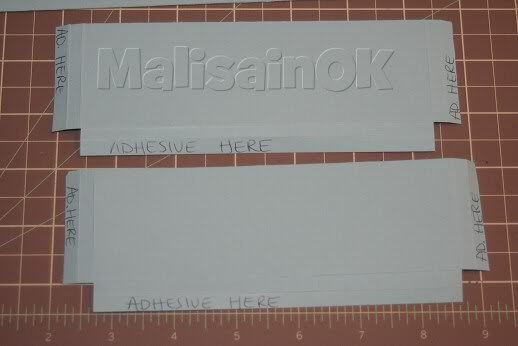
You're going to add this piece just above the score line and make sure your
opening is face towards the middle of the purse.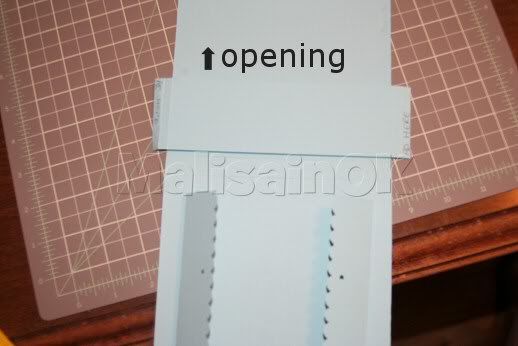
Closer picture so you can get the idea.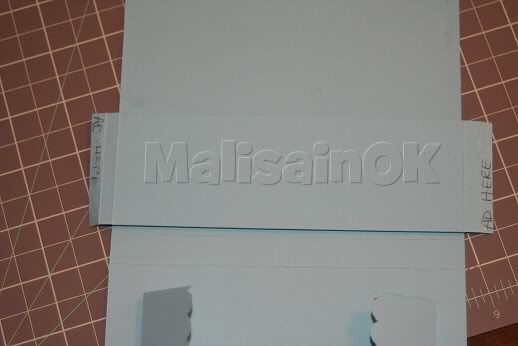
Then you will need fold the side flaps in and adhere them down.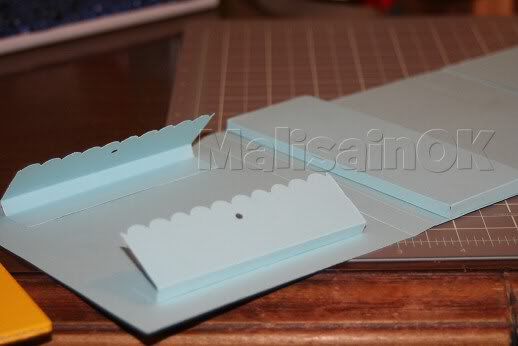
Here is one side done. Now you need to do the other side just the same.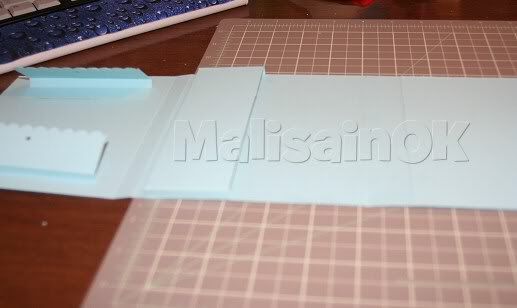
Make sure the opening is facing in.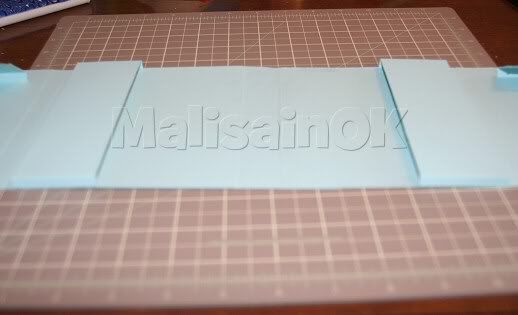
Here is what your purse looks like with the flaps folded over.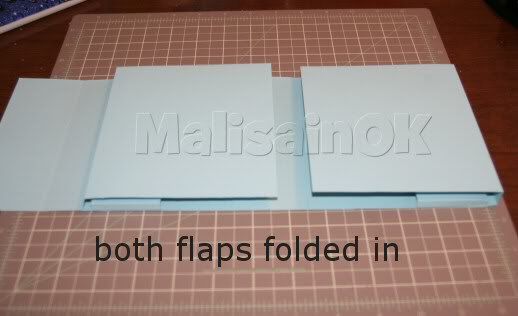
Here is it folded in too.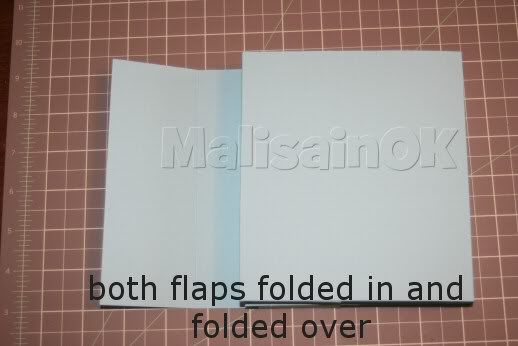
And here it is folded shut. I used a piece of velcro to keep it shut.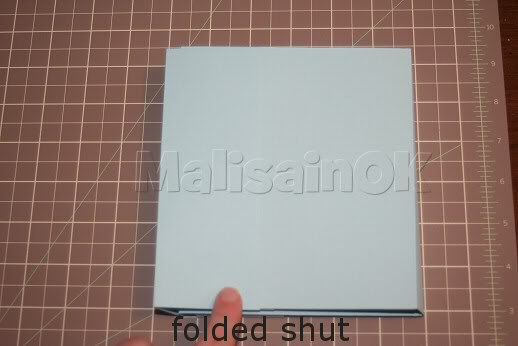
And a side view.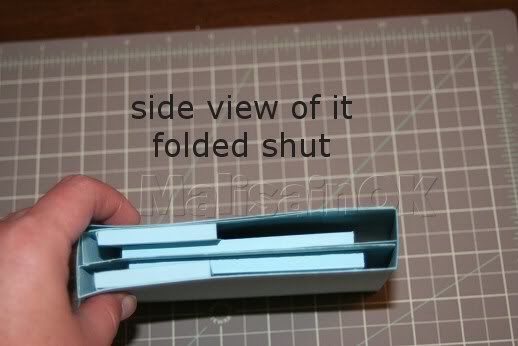
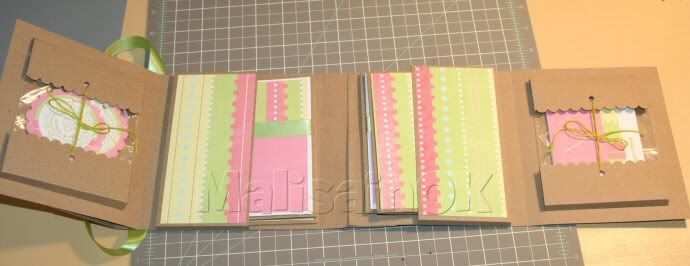
I put 4 A2 size cards and envelopes in the card pockets and then made some
3 x 3 cards for one scallop edge side and tags on the other scallop edge side.
I used small zip top bags for my 3x3 cards and tags then tied those shut with
some floss. This is my first tutorial like this so if you have any questions please
feel free to email me at malisaleblanc@gmail.com I'll answer them as soon as I can!
Please leave a comment to let me know what you think!
Thanks,
Malisa
P.S. Sorry for any typos. I'm a terrible speller!
6.05.2009
Stationary Purse Tutorial
Subscribe to:
Posts (Atom)


