
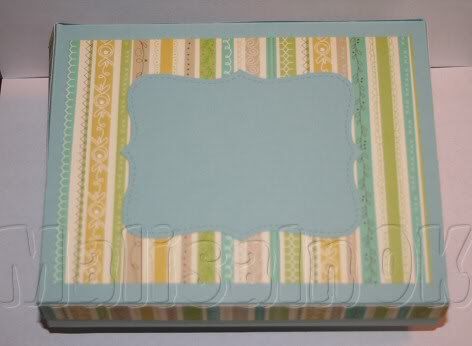
Box With Dividers for Cards & Post-it-Notes
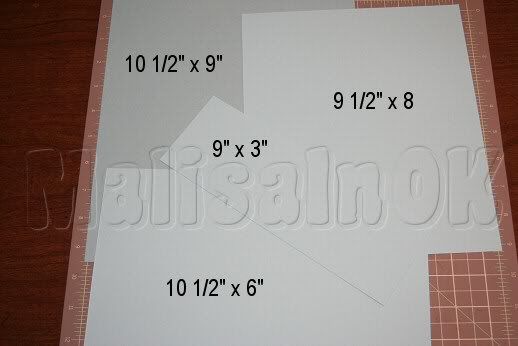
You need 5 pieces of cardstock. 10 1/2" x 9", 9
1/2" x 8", 10 1/2" x 6", 9" x 3", and 9 1/2" x 3
1/2" (Not Shown)
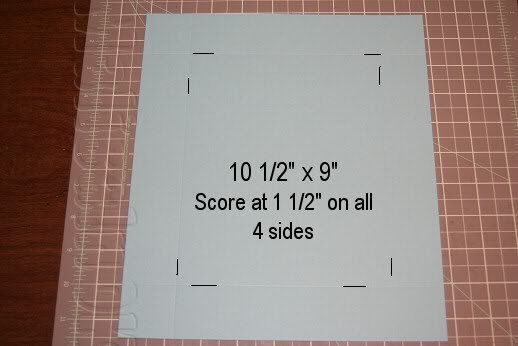
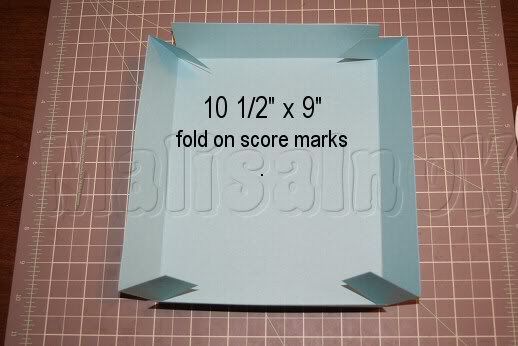
Score the 10 1/2" x 9" at 1 1/2" on all 4 sides.
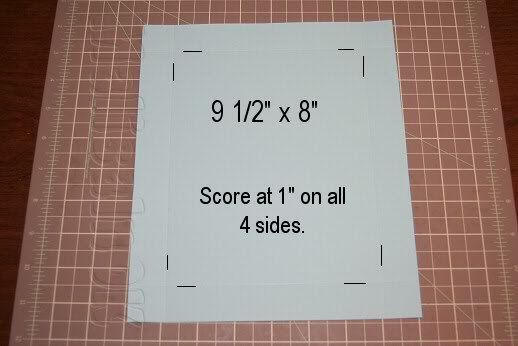
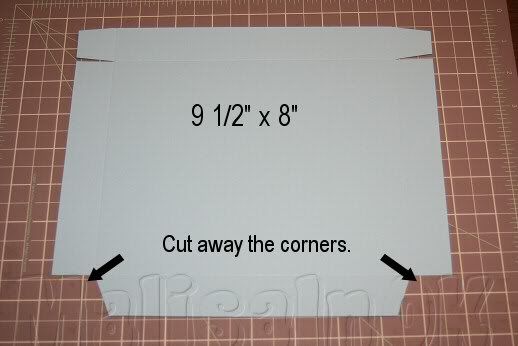
Score the 9 1/2" x 8" at 1" on all 4 sides.
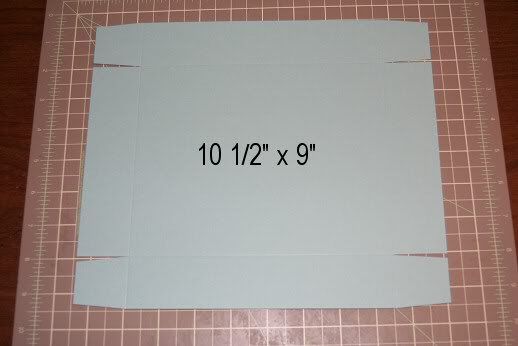
You need to cut the end score marks and then notch them out. This
makes your ends look nicer once they are all attached.
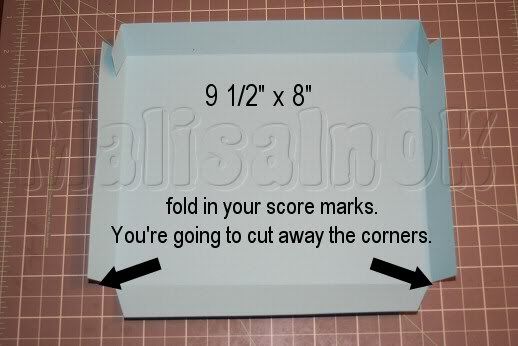
On your 9 1/2" x 8" you need to cut your end score marks in to
the score marks. Then your going to cut off and remove the bottom tabs. I notched these
also.
Back to the 10 1/2" x 9" piece you need to fold in and attach
the tabs.
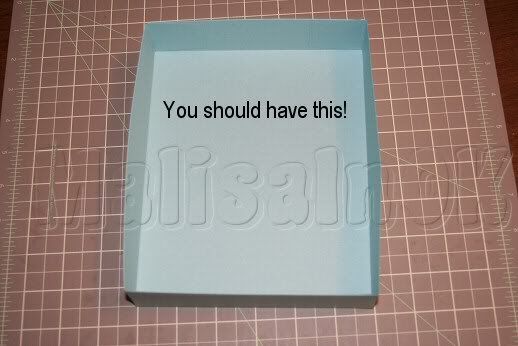
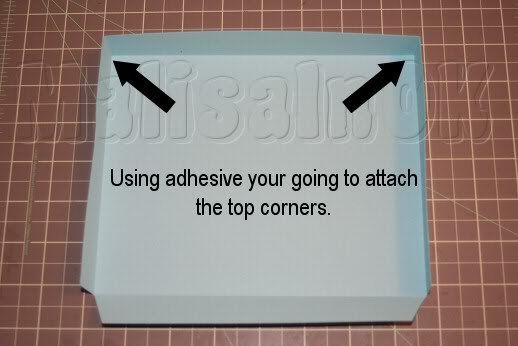
Then using adhesive you need to attach the tabs to the inside of your
box.
Back to the 9 1/2" x 8 piece and fold in your score marks.
Attach your top tabs inside. This is making the lid to the box.
You need to add adhesive on the back of the long tab and it needs to be
attached to the inside of your bottom box.

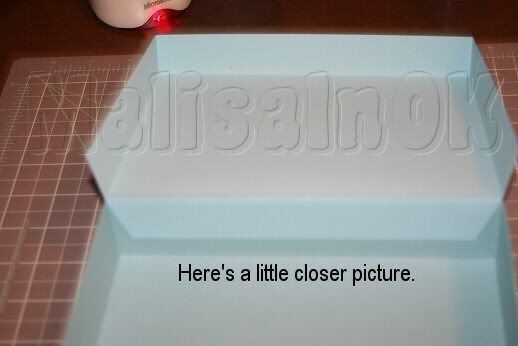
Here is another picture of the lid attached to the bottom.
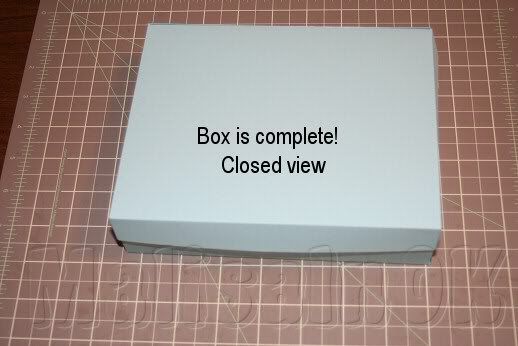
Now your box is complete. The lid should close over the bottom with no
problems.
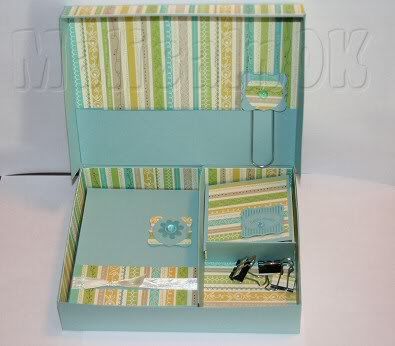
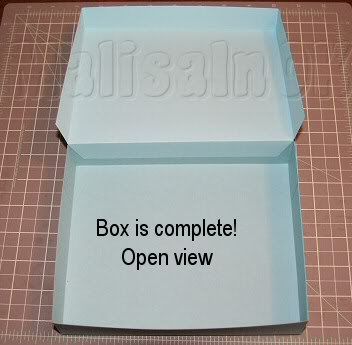
Your complete box open.
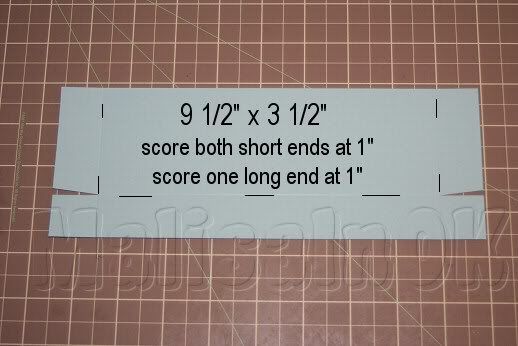
You need your 9 1/2" x 3 1/2" piece. You need to score this
piece at 1" on both short sides and 1 long side.
Next you need to cut and notch this piece as shown.
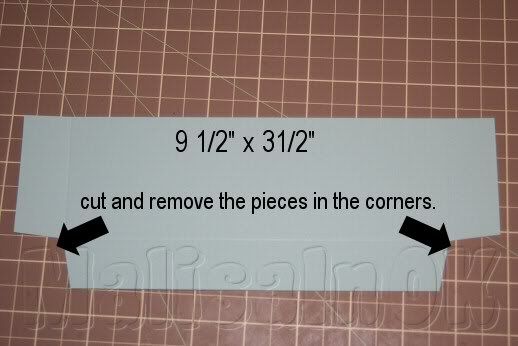
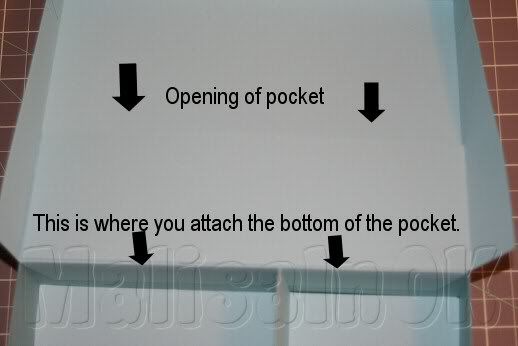
You're going to attach this pocket piece to the lid of your box.
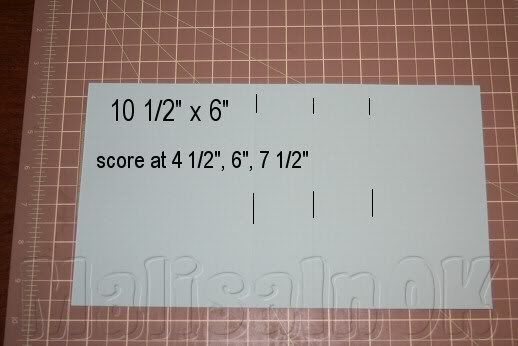
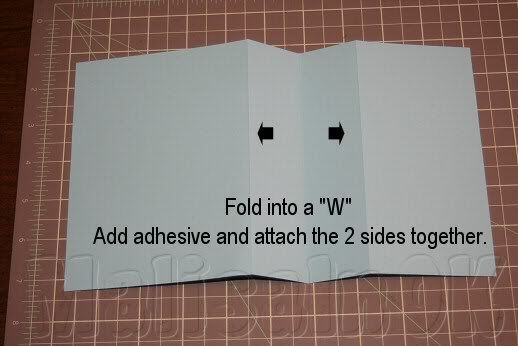
Now you need your 10 1/2" x 6" piece. You need to score this
piece at 4 1/2", 6", 7 1/2"
You're going to fold this piece into a "W" as shown. Add
adhesive an attach to make a divider for your bottom of your box.
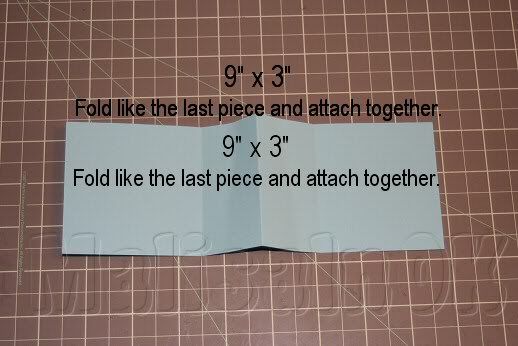
Now you need your 9" x 3" piece. You need to score this piece
at 3", 4 1/2", 6" You need to fold and add adhesive as you did above.
(sorry for the double post in the picture)
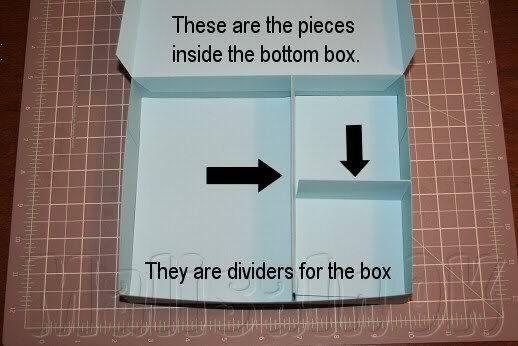
This is how your dividers will go in the bottom of your box.
Now your box is complete.
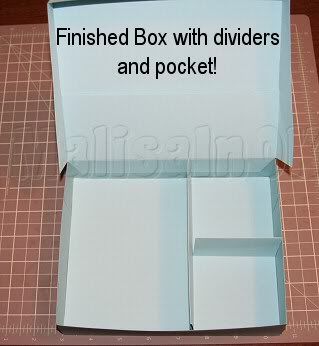
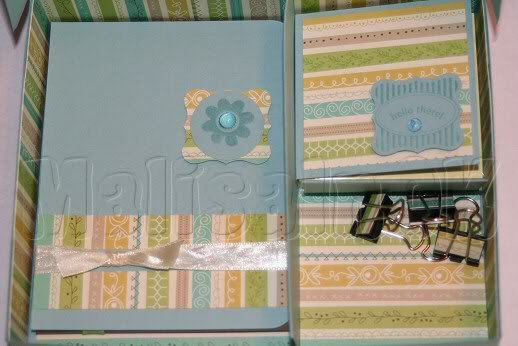
On the left side of your box it will hold your A2 size cards and
envelopes.
I put a post-it-note in the top right and clips in the bottom right. I also added a jumbo
decorated paper clip on the pocket. You can decorate and use it however you'd like!


15 comments:
Very nice job - thanks for the detailed instructions. This is going in my to be scraplifted folder. ;)
How neat!! Will have to give this a try! Thanks so much for the instructions! I love it!
Great tutorial, I've always wanted to try a divided box!!!! Thanks so much
You do such great tutorials. I'm going to have to try to make one.
I recieved my thanks you card in the mail on Saturday. It is beautiful. I hope that you enjoy you goodies.
Melissa (ScrapAtHomeMom)
Just ran across your blog and it is beautiful.Wow I love this box and thanks so much for sharing the instructions in how to make it.Going to make one today.Anne L
Your directions and pictures are great!! I look forward to seeing more from you. Thanks for sharing.
Thank you very much for sharing all of your cute patterns! I found your blog when visiting the Cricut MB.
Love it! Good job!
Wonderful job on doing these tutorials!! I made the note card purse and loved it...so easy to follow!! I will be busy making some of these...great job!!
Malisa, this is just AMAZING! Thanks so much for your wonderfully detailed tutorial!
Great Box! Thanks so much for your detailed instructions and photos!
Regina
I'm so glad to come across your blog. You have awesome tutorial and I can't wait to give some of your tutorial a try. Great job!
Jenny
What a great idea...thanks for sharing the detailed instructions!!!
~Terry
Oh my gosh! I just found your site and I am so hooked! Great instructions! I can't wait to try this! Thank you so much! And the jumbo decorated paperclip rocks!!
Thank you so much for taking the time and care to post these instructions. Great details!
Post a Comment