
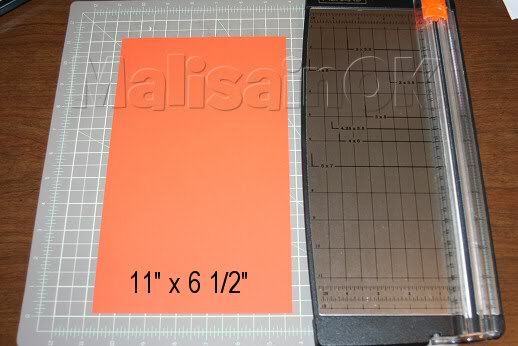
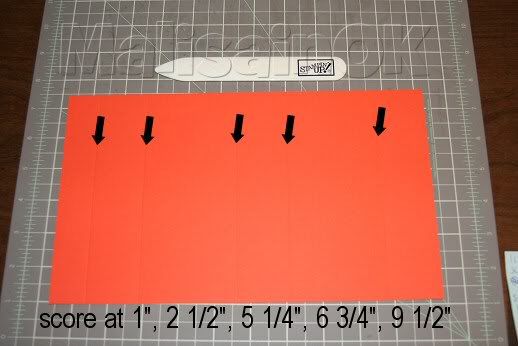
You need a pieces of cardstock that measures 11 x 6 1/2.
On the 6 1/2" side you're going to score at 1", 2 1/2", 5
1/4", 6 3/4" & 9 1/2"
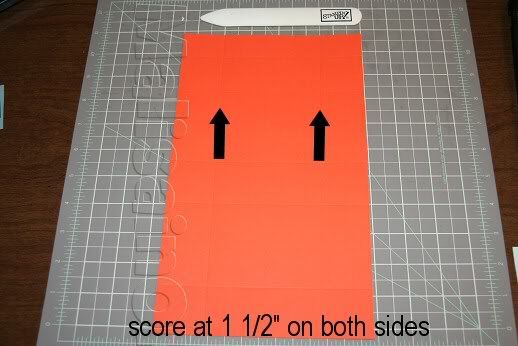
On the 11" side you're going to score both sides at 1 1/2".
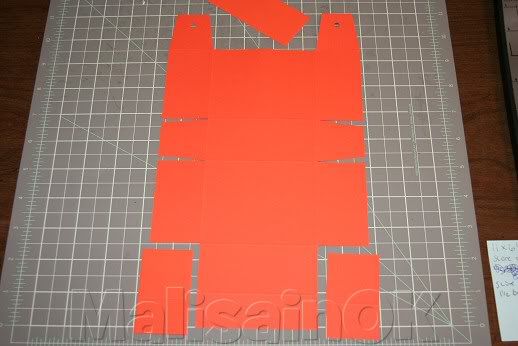
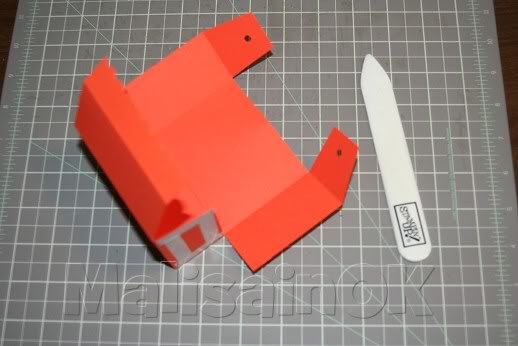
Now you're going to cut away the parts shown below. The 1" score
line is at the bottom of the screen. You're going to cut up to the 2 1/2" score line
and remove that piece on both sides. On the opposite end you're going to cut out and
remove the center piece. I notch out my center flaps so they fold in better. At this time
I also used my crop-o-dile to punch holes in the two tabs at the top. You can also use
your
scallop punch on the other end.
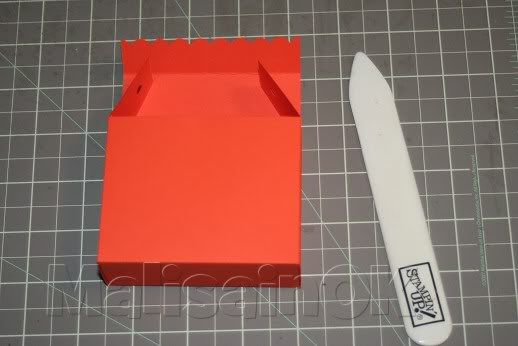
You need to flip your box over and add adhesive as shown.
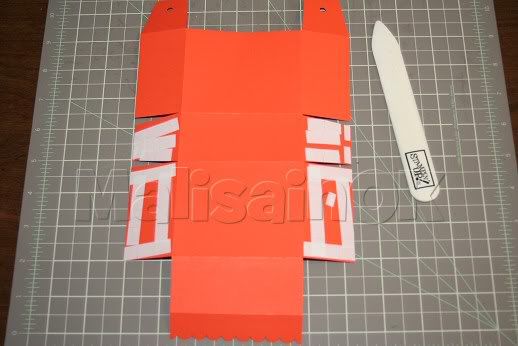
You need to fold the little tabs in and stick them to the piece with the
adhesive.
You want to make sure the flaps with the hole punched goes on the outside of the box.
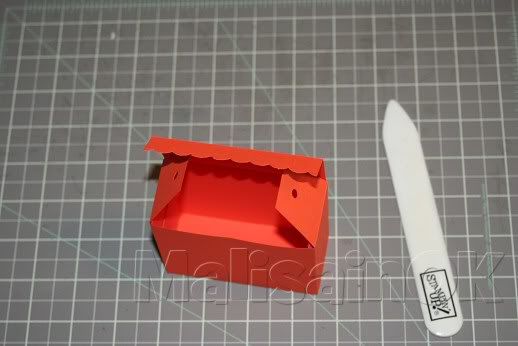
Now you are ready to decorate.
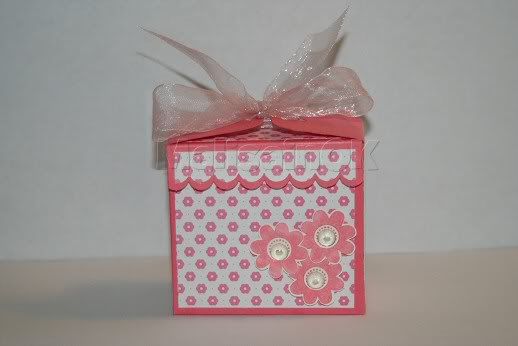
Here are the measurements you need for your designer paper.
1 piece 2 1/2" x 3 1/4" (font)
2 pieces 2 1/2" x 1 1/4" (sides)
1 piece 3 1/4" x 1 1/4" (top)
1 piece 3/4" x 3 1/4" (front flap- scallop)
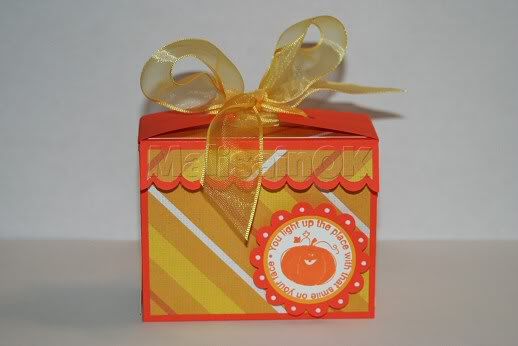
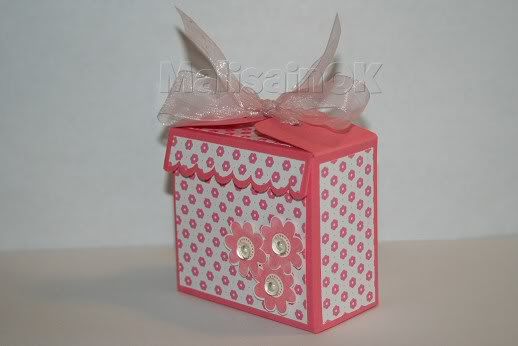
As you can see I pulled the flaps out and tied with a ribbon. You can
also just tuck these inside your box.
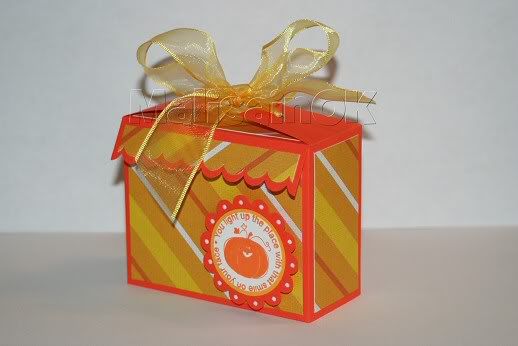
Here is another box just make with cardstock size 11" x 6"
using the same score lines.


19 comments:
Great job. Thanks for the tutorial.
Melissa
WOW! super cute! thanks for the tutorial! =)
thanks for the tutorial!!! Have to try this soon.
Man your wicked smart!!!
Killer job and thank u for being so kind and sharing!!!
xoxo
Jen
What a cute treat box. Thank you for sharing your creative talent!
Wow, beautiful box! Thanks for the tutorial! Love your blog, come here quite often! Theresa
Cute decorative boxes! TFS!! ;-)
these are really cute.
Great tutorial...can't wait to make some boxes!!! Thanks for sharing!!
Thanks for the great projects and tutorials.
I nominated you for an award. Check out my blog to collect it.
Laurinda (CricutMB)
wow! Super tuto!!!
Saludos desde Lima Perú.
very very cute. thanks for the tutorial~
So cute..appreciate the tutorial!
Terry
Adorable box, tfs.
I love this I will have to try. I am so dependent on my cricut I have never made a box from scratch. I will have to try. Thanks for the tutorial
Stunning!! A lovely little box, thanks for the tut
Anne x
This box is so beautiful! I love the summer colors. Thanks for sharing!
Regina*
This is an awesome box. Thanks for sharing the tutorial. I will definitely have to make some of these!
Oh my gosh! This is awesome! I'm not going to have time to do anything else but follow all of your tutorials! I love your instructions. I am so, so excited I can't hardly wait to get started!
Post a Comment